Here’s a method for making a fiberglass reinforced insole that can be used for a womens high heel shoe.
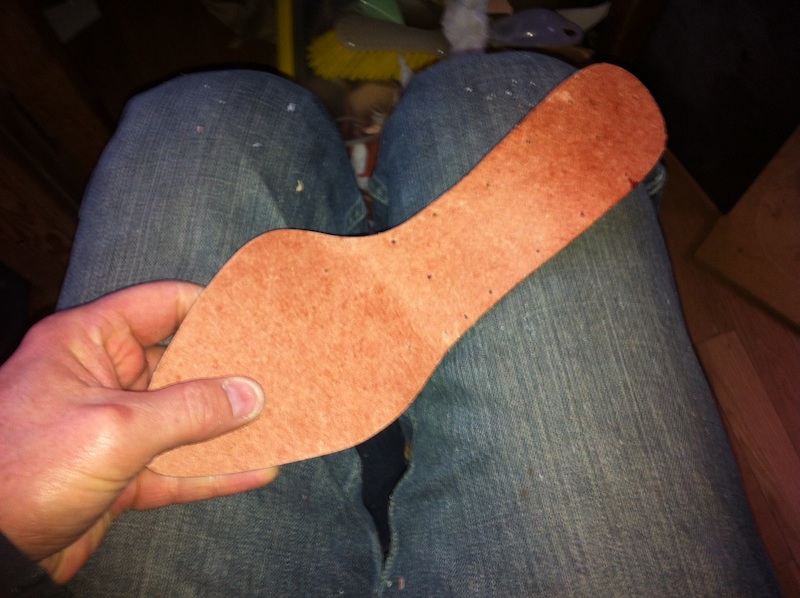
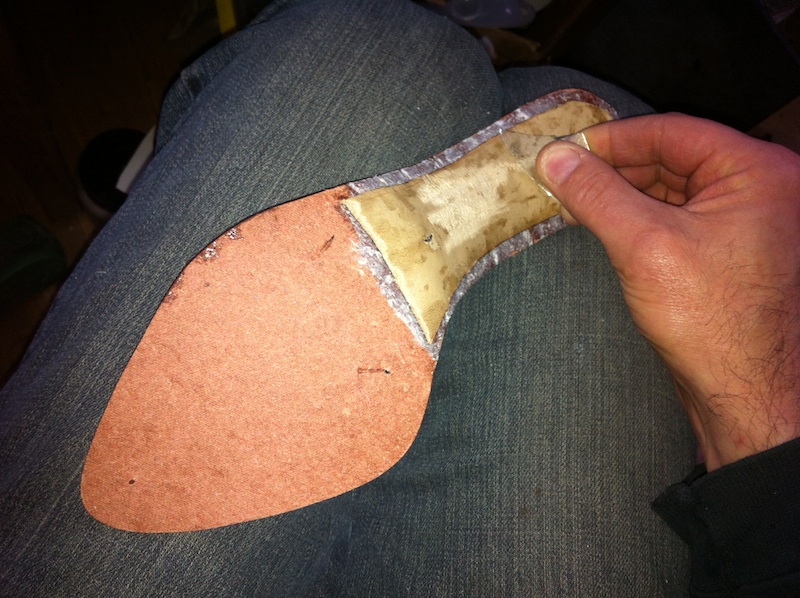
Cut the shape of the insole out of a sheet of fiberboard (compressed cellulose particle board manufactured for shoe insoles, such as Texon). If you don’t have access to fiberboard, you could also use thin insole leather or tooling leather.
Attach the fiberboard at the rear of the last with a nail…
…and then at the front of the last with another nail.
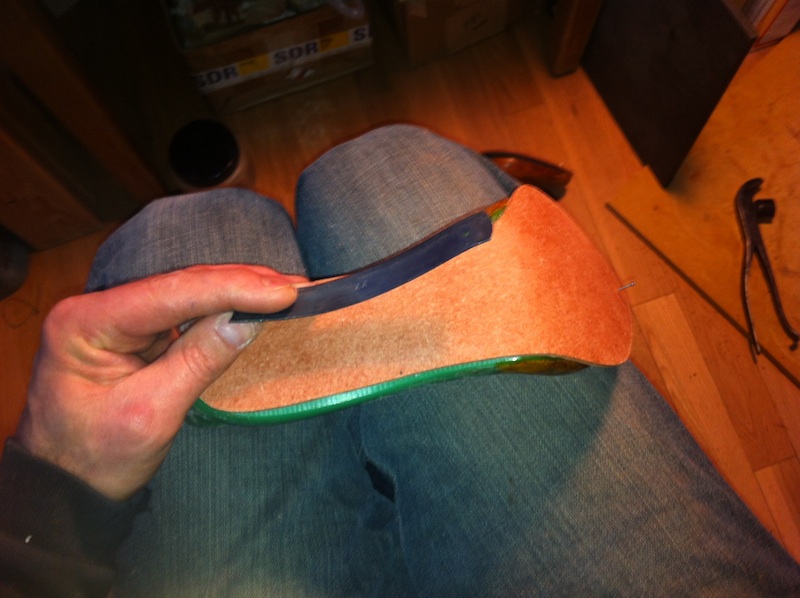
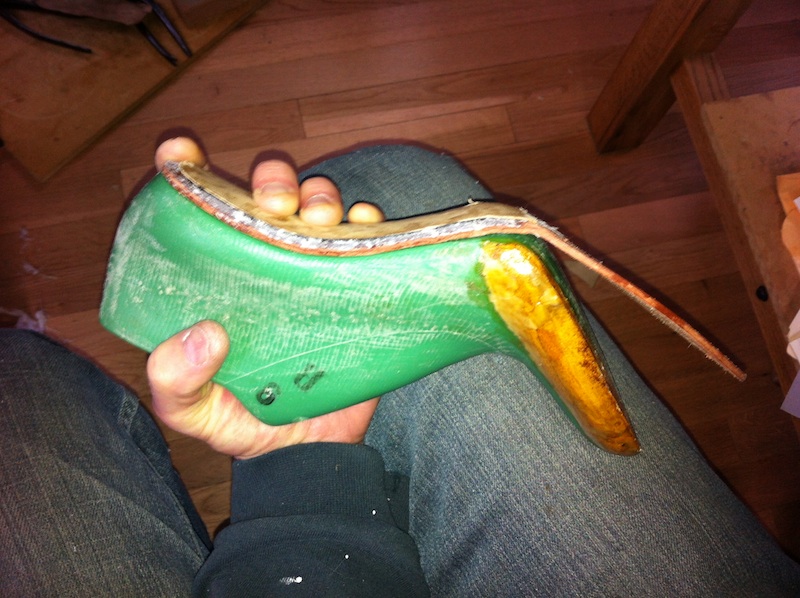
Take a steel shank that you shaped to the bottom of the last before you started this process…

…and secure it on the bottom of the last with two nails, one on each end of the shank, to keep it in place. It’s going to be loose; don’t worry about that.
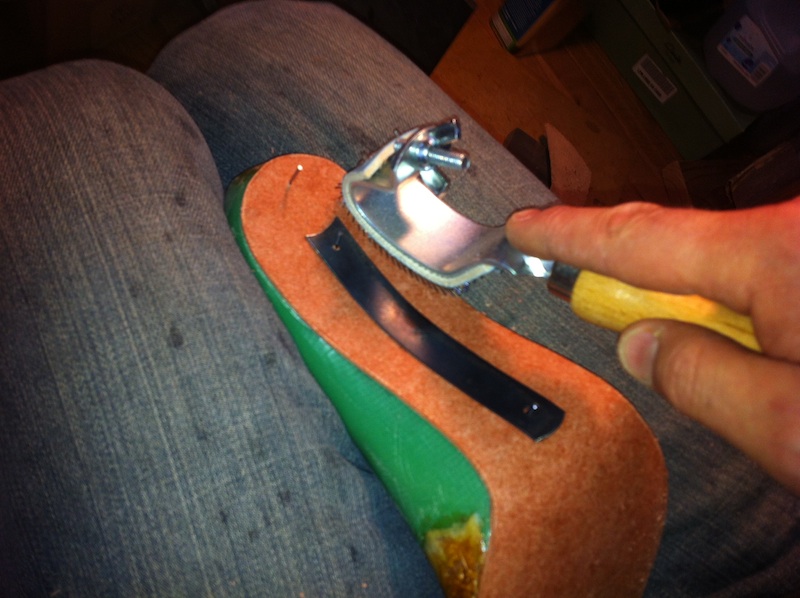
Use a wire brush to rough-up the bottom of the fiberboard a little to help everything adhere better.
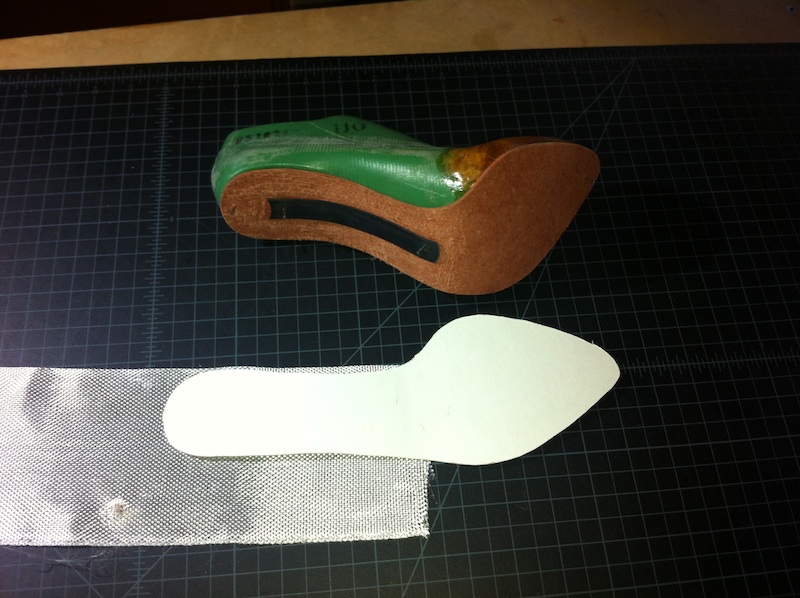
From a roll of fiberglass cloth…
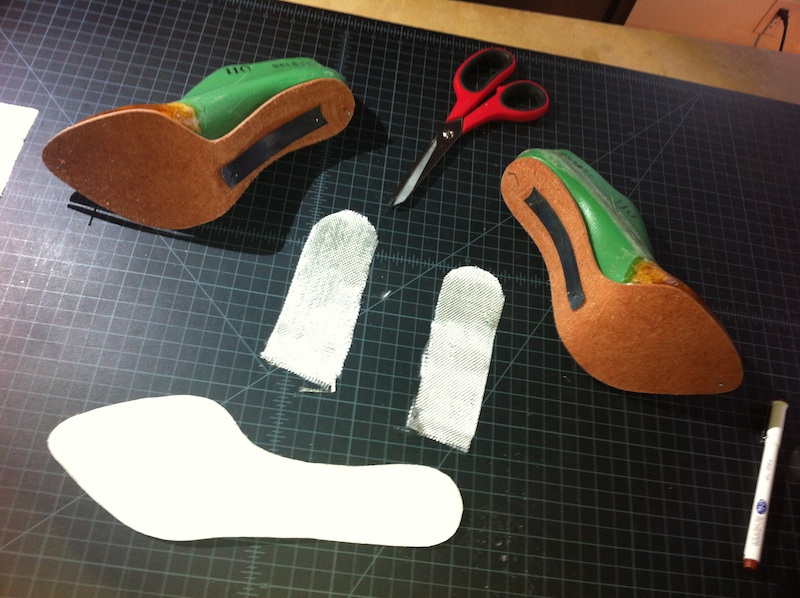
…cut out a piece that will cover the fiberboard and shank, up to the treadline of the last…
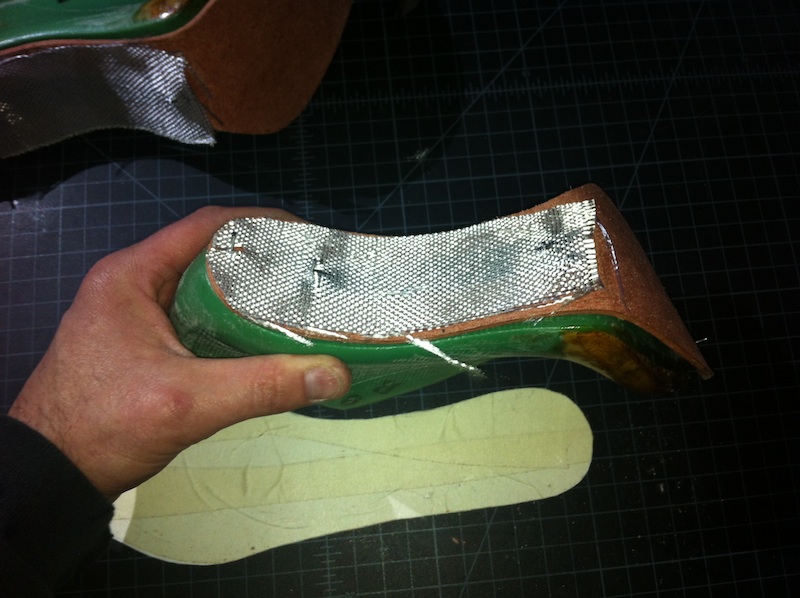
…and put it on the bottom of the last, using the two nails that are holding the shank to keep it in place.
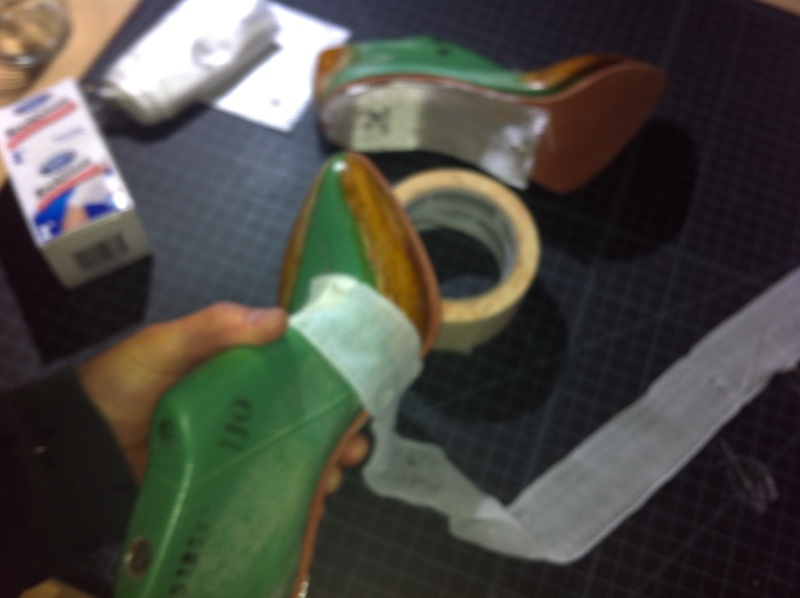
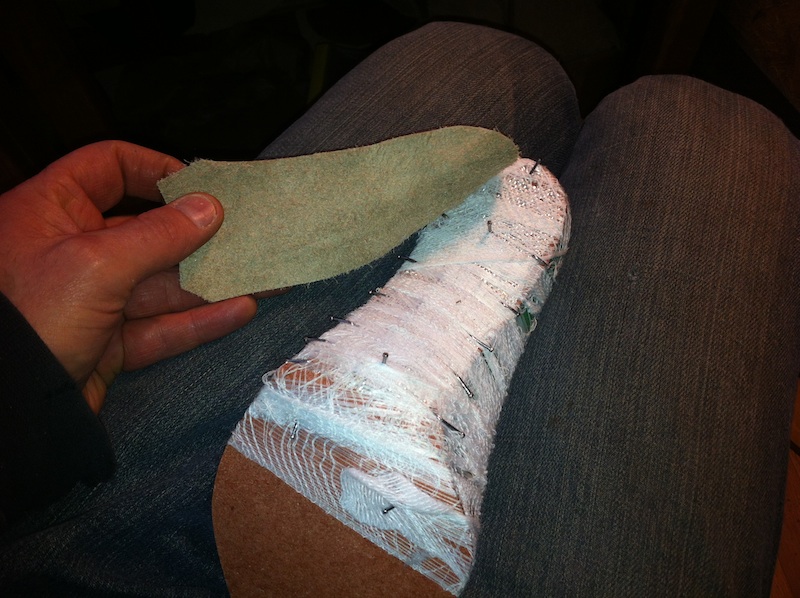
Using a gauze bandage (bleached cotton cloth of a loose weave used for bandages), tape the end of the roll to the top of the last, and…
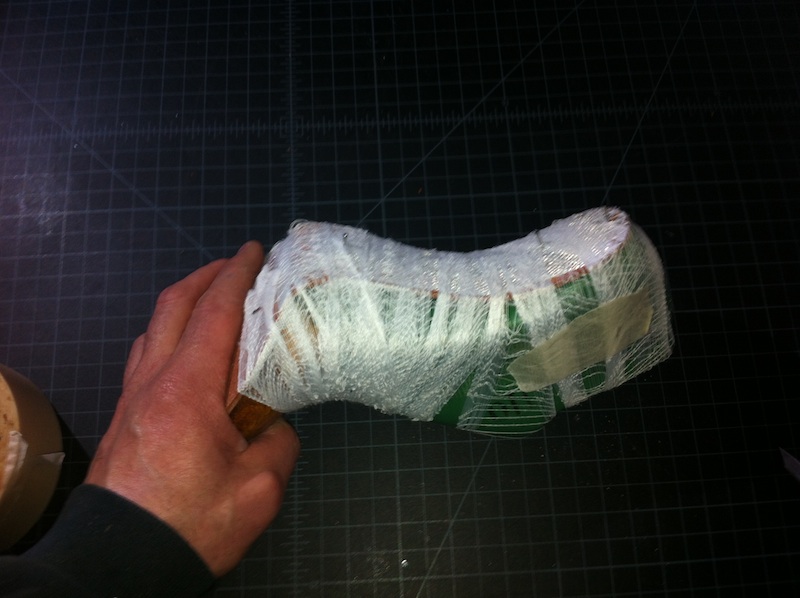
…wrap the last. Do this as tightly as possible.
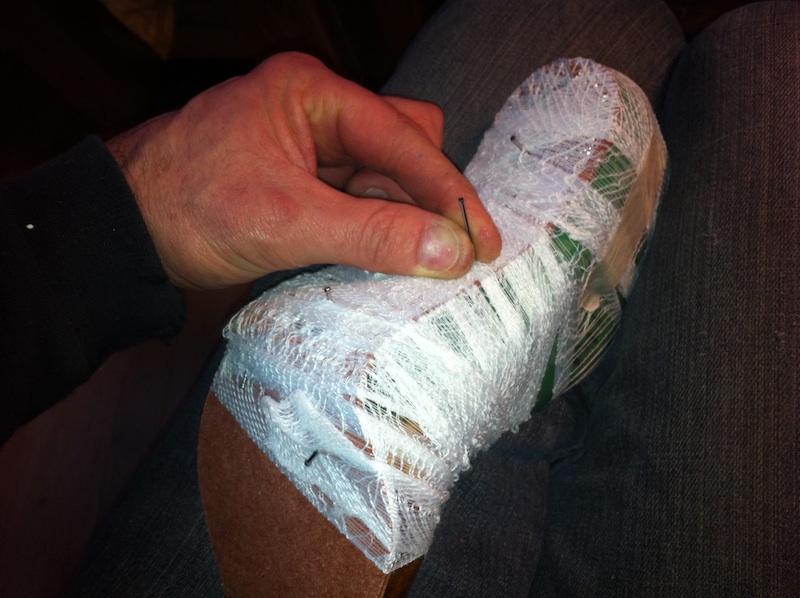
Then, close to the edge, take nails…

…and use a few to cinch the fiberboard to the bottom of the last around the shank and at the back. If you can see any gaps between the last and the fiberboard, keep adding nails!
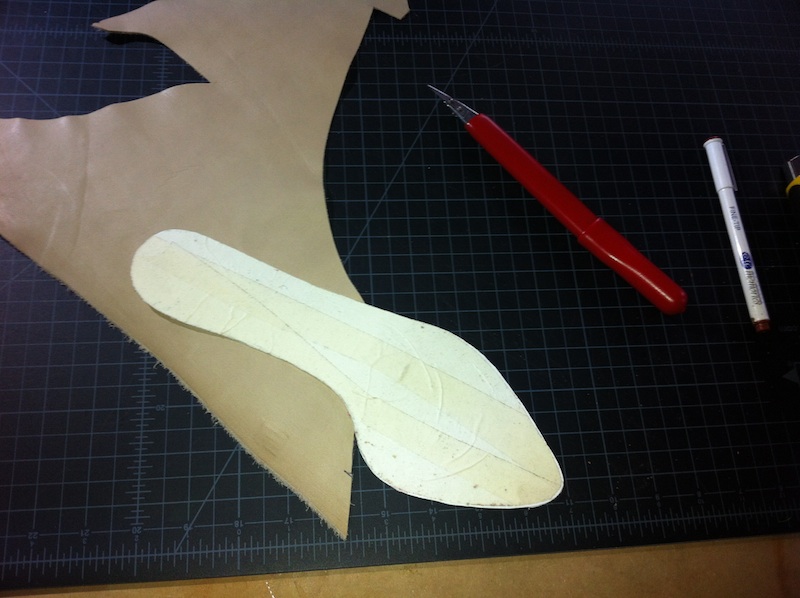
Next, cut out some lining leather…
…and cut slits where the two nails that hold the shank are, so that you can place the piece of leather on top of the fiberboard/shanks/fiberglass cloth.

Mix your two part epoxy resin (I highly recommend using an epoxy resin rather than a standard fiberglass resin)…
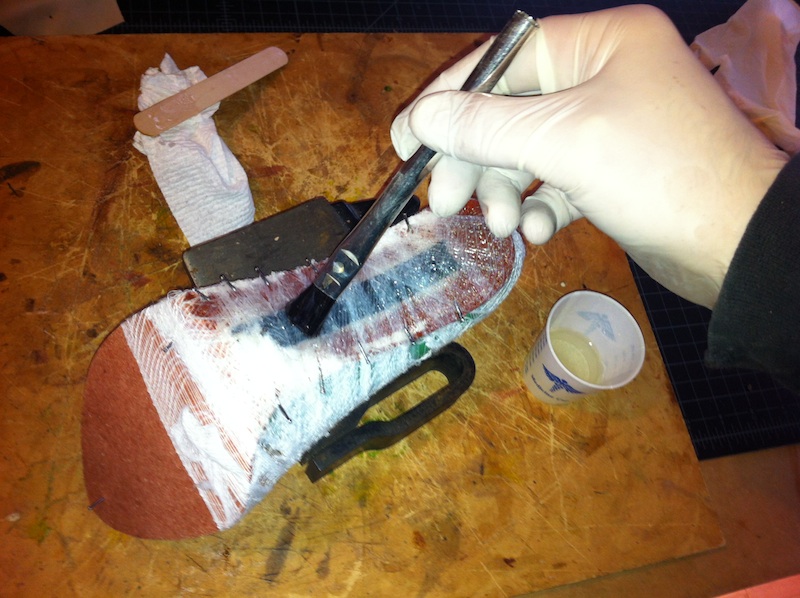
…and paint it on the bottom with a disposable brush, making sure everything is well saturated.
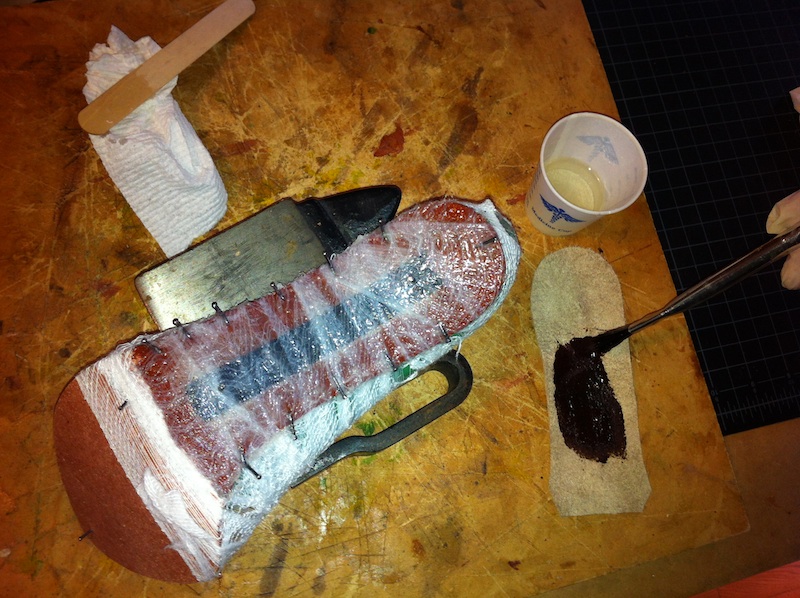
Then, paint the flesh side of the lining leather with the epoxy resin…
…and place it on top, over the two nails that are holding the shank.
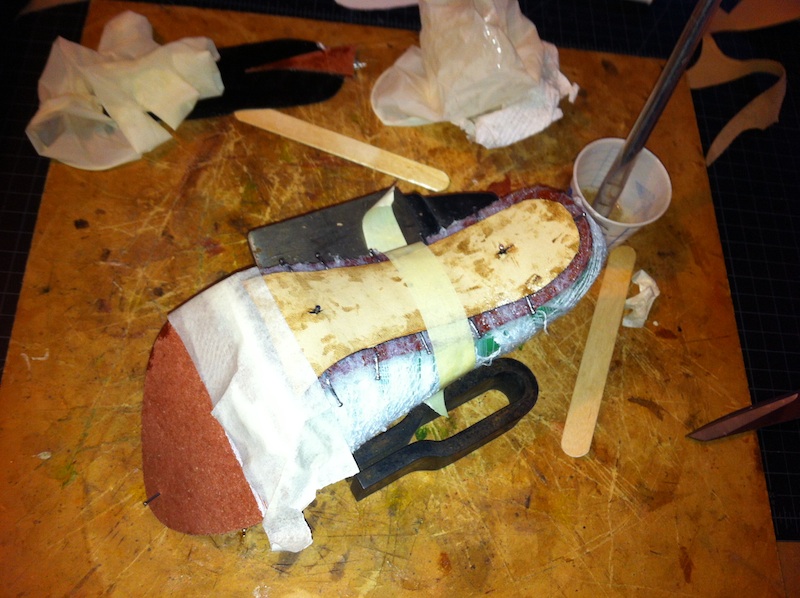
If the lining leather isn’t adhering well enough, tape it with masking tape. Now, walk away and let the epoxy resin cure.
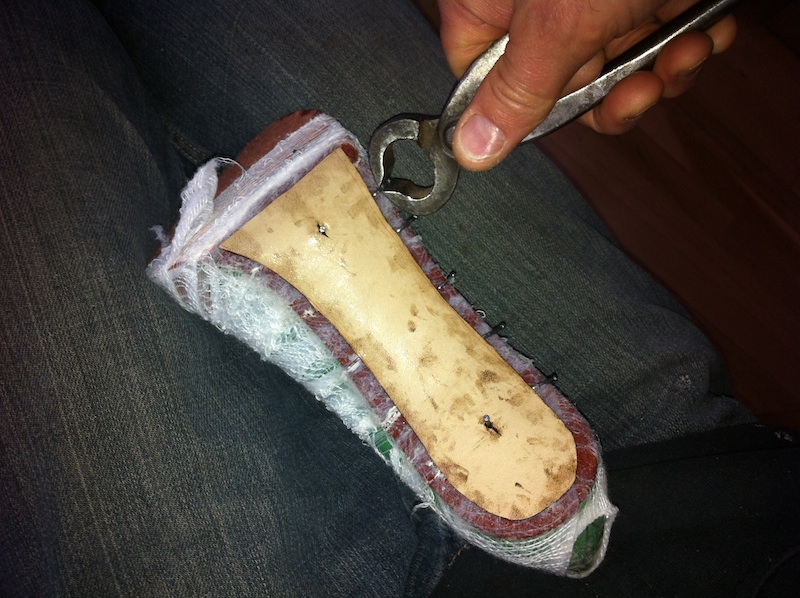
After curing, remove the nails…
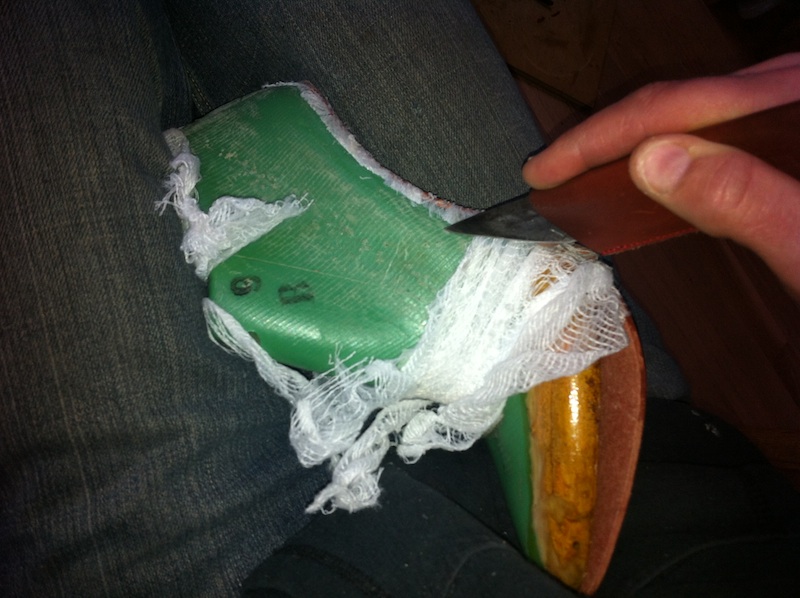
…and cut the gauze bandage…
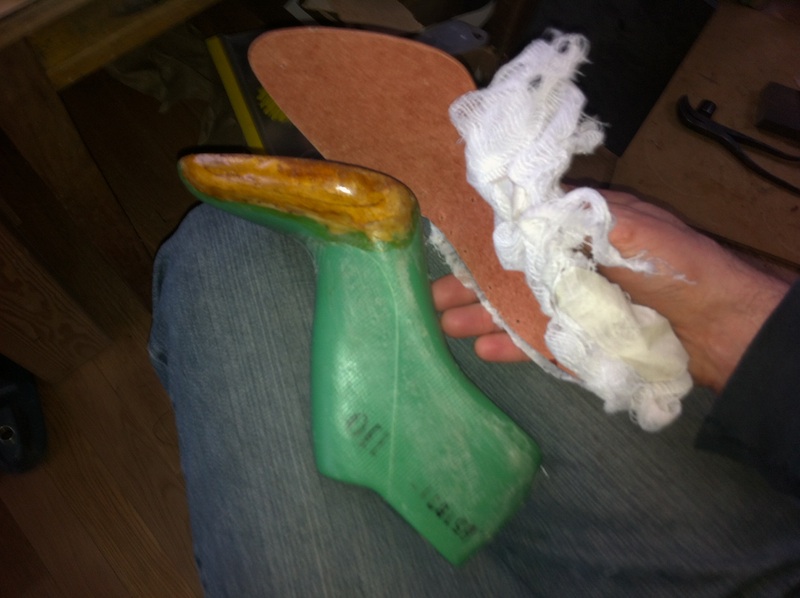
…to free the insole board from the last.
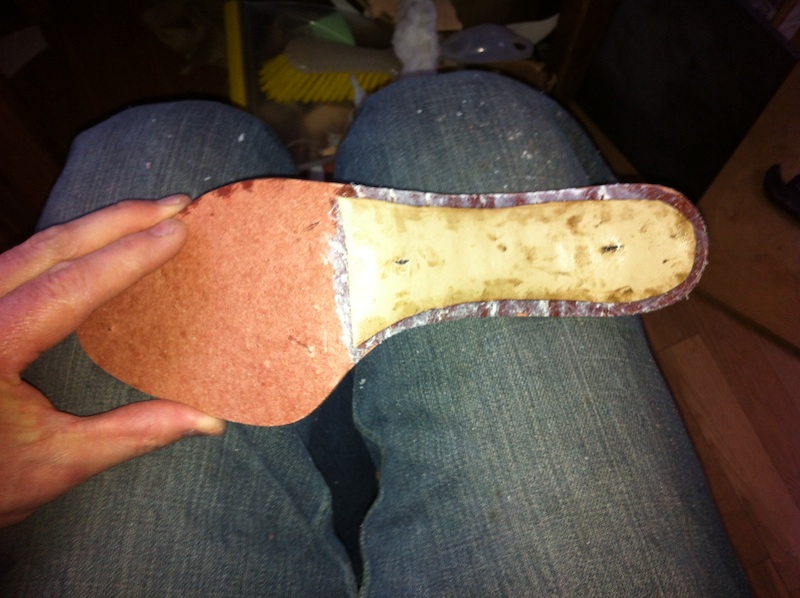
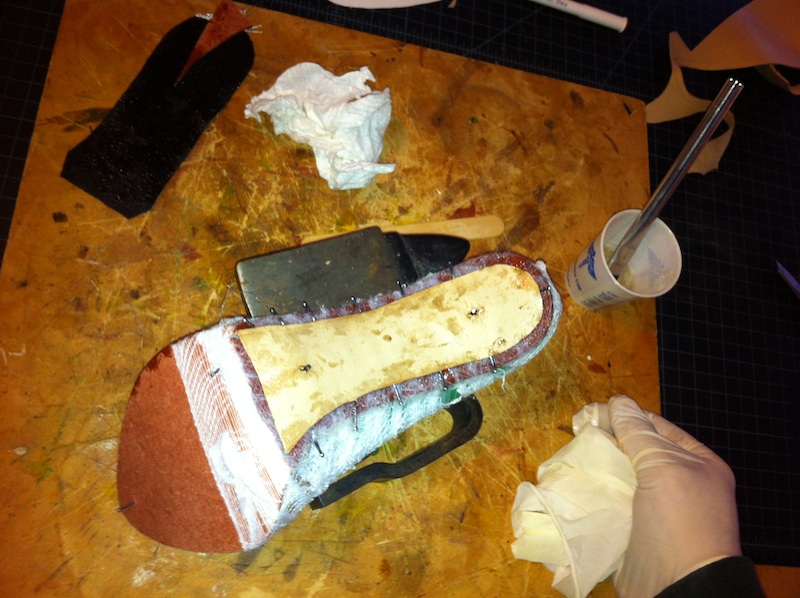
Clean up the edges with scissors and a knife.
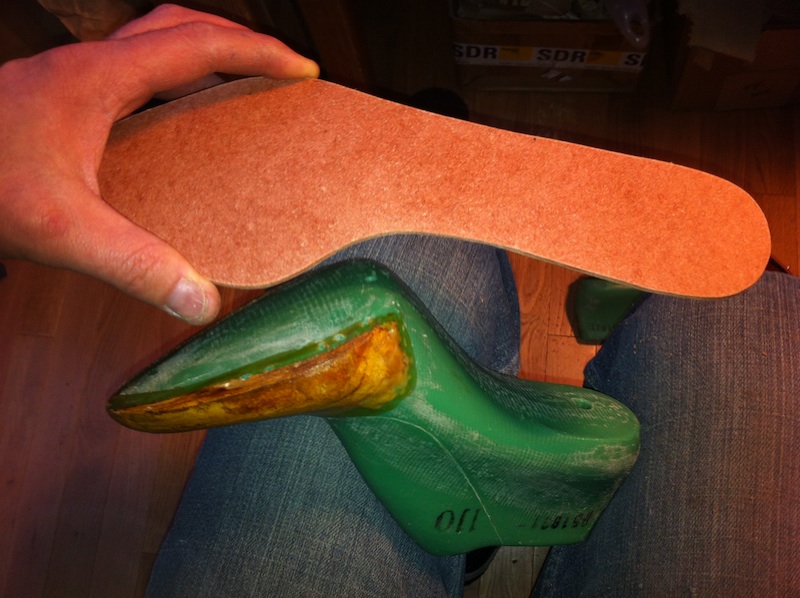
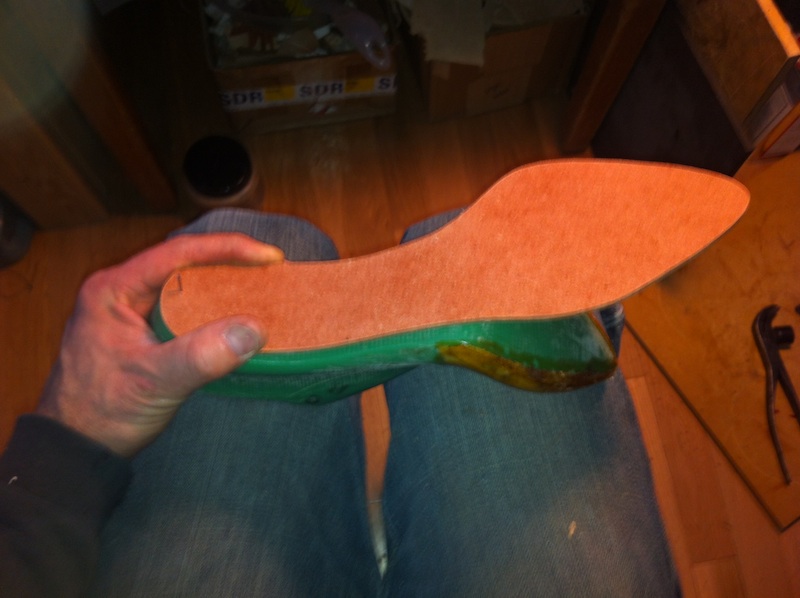
Examine your insole.
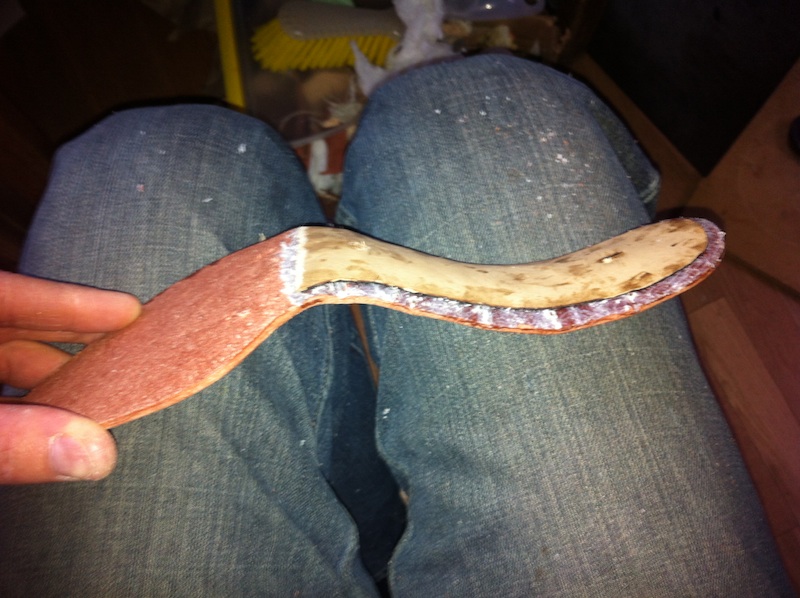
Looks good!
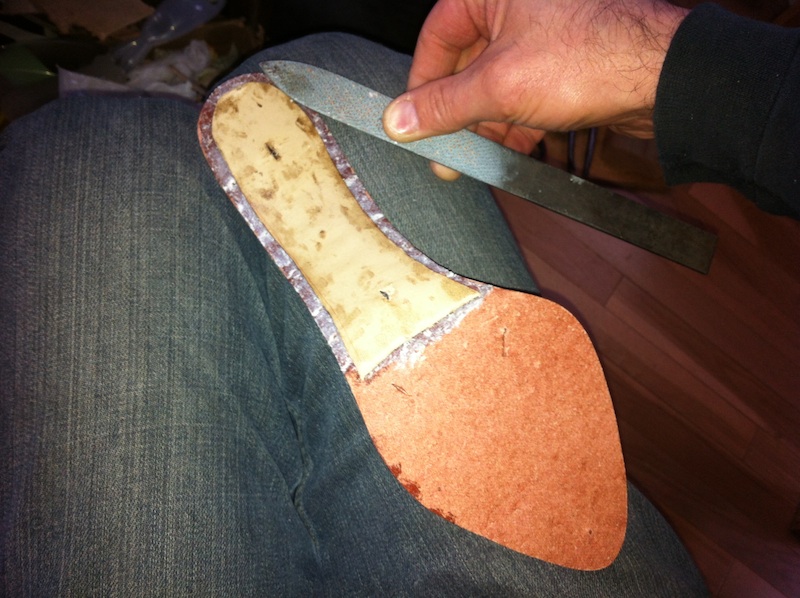
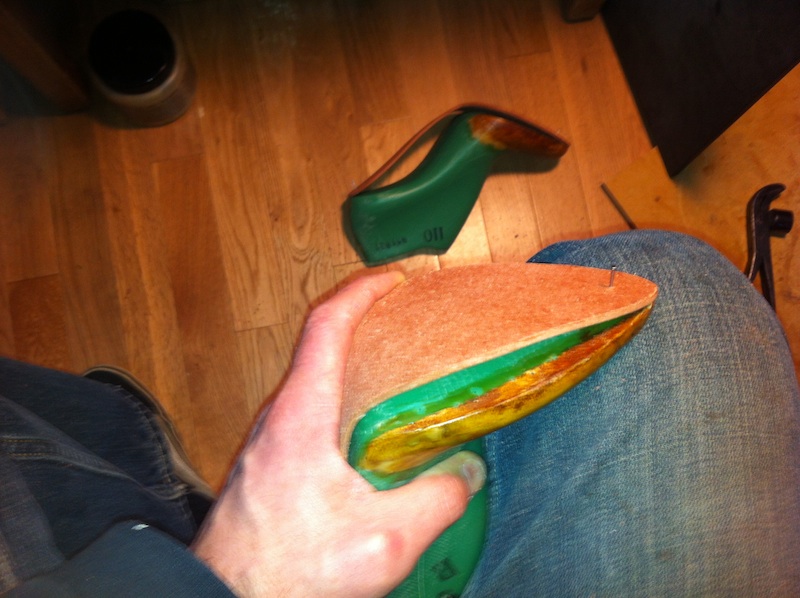
Rasp the edge some to make sure it’s flat…
…and use some glass or sandpaper on the lining leather to prepare it.
—
Sources for materials:
Fiberlay – Epoxy Resin
Tap Plastics – Epoxy Resin