Here’s a process for casting heel blocks for shoes in urethane plastic. This is simply my method and, while there are other ways to go about this, it’s my hope to provide a place for someone to start at and save them from the frustration of figuring out a few of the basics of how to approach this.
I’m starting with a model of a heel block sculpted in wax. The heel block model could be created using any material you choose to use. The reason I use wax is because it can be worked with in an additive and subtractive way, and is something I’m familiar working with. The creation of the model can be complicated and something I’ll have to save for another time.
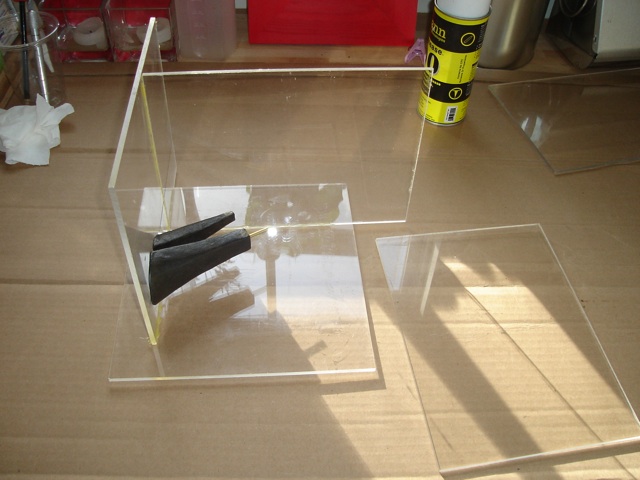
First, create a casting box out of scrap pieces of plexiglass, using a hot glue gun to hold the pieces together.
Attach the heel block model, top side to the plexiglass, half way up one of the sides of the casting box as you’re building it.
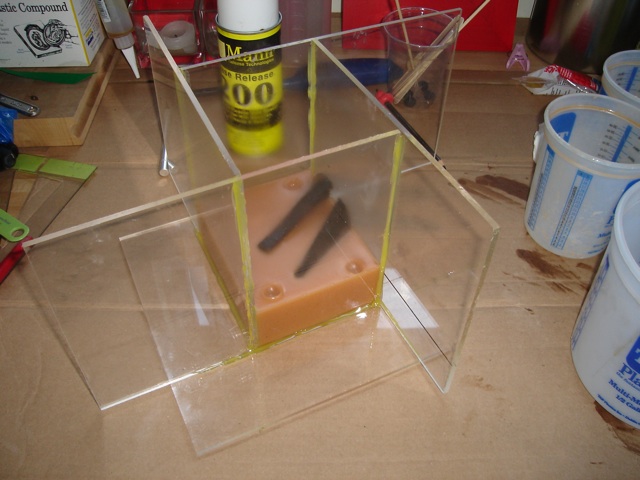
Once the casting box is finished, spray the inside of the box with a release agent, making sure you have also coated all sides of the model with release as well. I’m using Mann Ease Release 200.
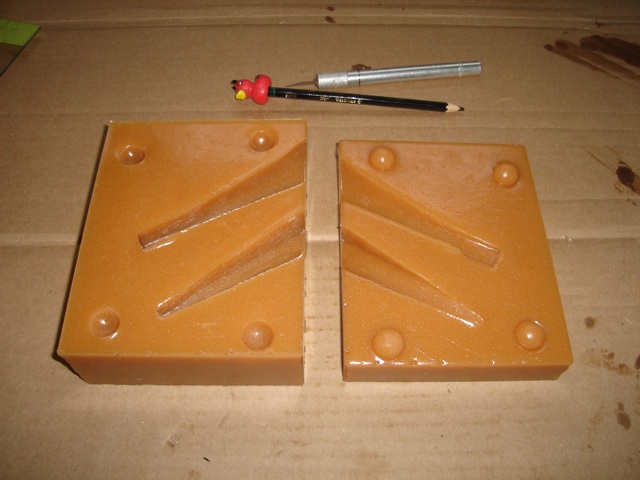
Next, mix and pour mold rubber to the center line of the heel block model. Here I’m using Smooth-on VytaFlex Urethane Rubber, but a cheaper alternative would be Smooth-on OOMOO Silicone Rubber. You will also need to add registration indents on this pour so that the two parts of your mold can be fitted back together perfectly.
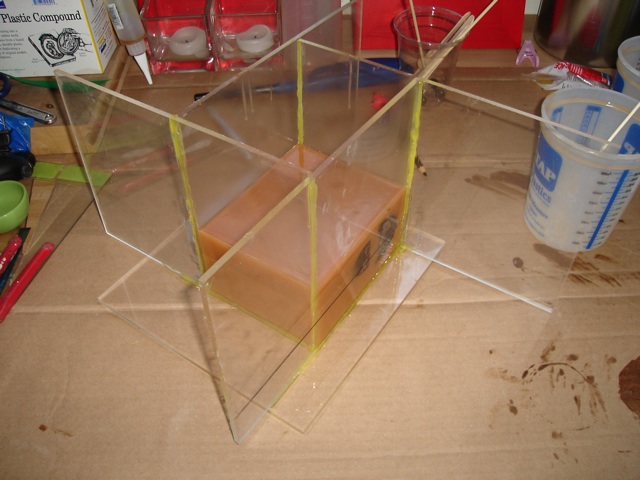
Once the first part of the mold has dried, spray with a release agent and then mix and pour mold rubber over the top for the heel block model to create the second part of the mold.
After the rubber has dried, take the casting box apart and remove the rubber mold.
So there you have it, a two part mold ready for casting plastic heel blocks.
For more information, a few videos on making molds can be found at smooth-on.com. Worth watching!
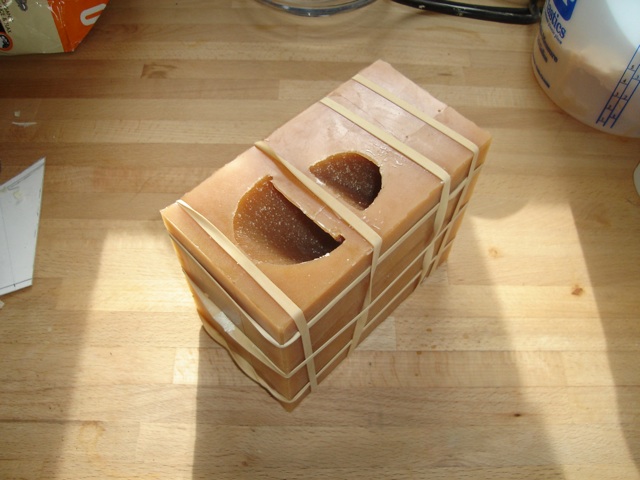
Moving along to casting the heel block, the first step is to spray each side of the rubber mold with a release and then fit the sides back together, holding the mold in place with a few rubber bands.
Next, mix your urethane plastic and pour it into the rubber mold. Here I’m using Smooth-On Smooth-Cast 320 Liquid Plastic.
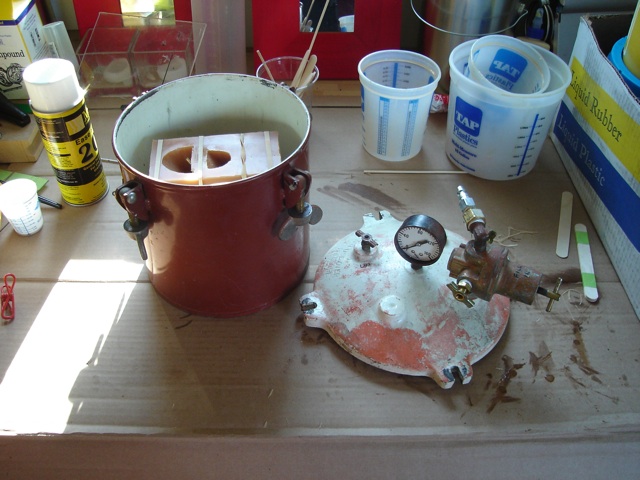
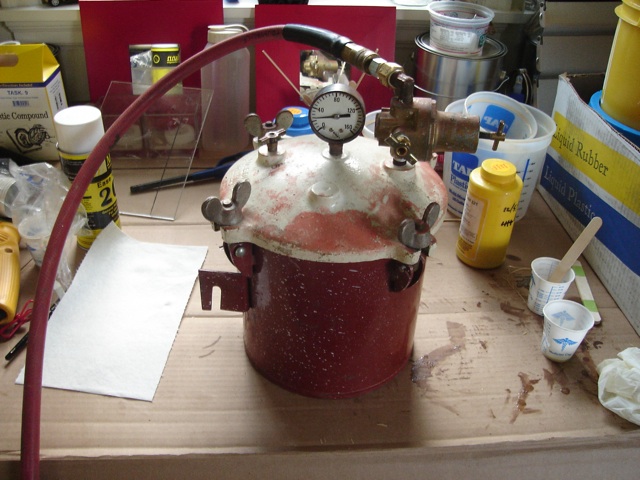
I live in a fairly damp climate, and In order to create bubble free castings, I have to place the mold into a pressure chamber while the urethane plastic is curing. My pressure chamber is actually just an old modified paint pressure pot.
Once the pressure pot has been closed up, connect it to an air compressor and place the mold under 60 psi of pressure until the urethane plastic has cured.
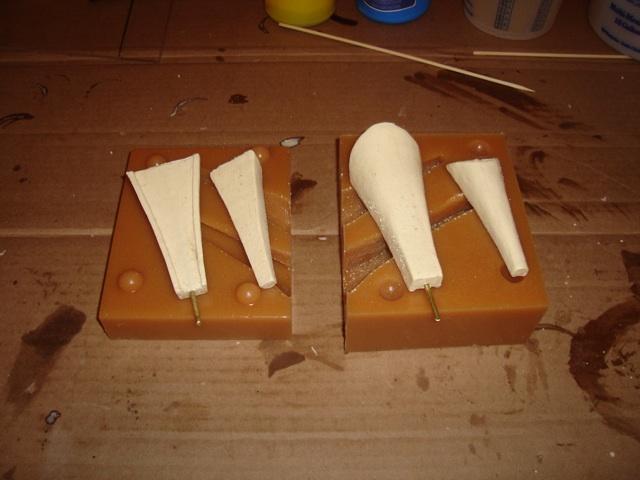
After the urethane plastic has cured, take the rubber mold apart and remove your cast heel blocks. Even when casting using a pressure pot, you might still end up with some air pockets. To fill any holes in, I use Magic-Sculpt.
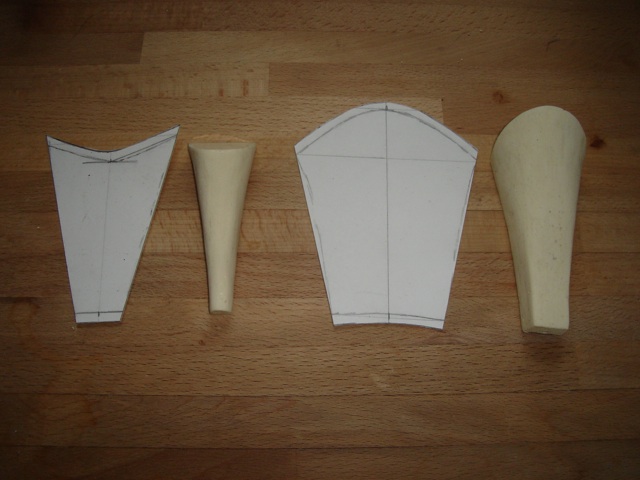
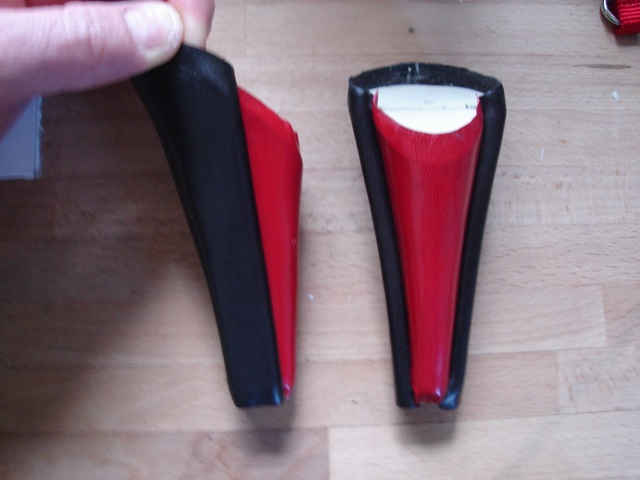
Once the cast heel blocks have been cleaned up with some sand paper, create your pattern for the heel block covers. Cut out your pieces in leather, skive the edges, and glue them to the blocks using a contact cement.
The heel blocks I’ve cast here are a two piece design and I’ve used Cyanoacrylate glue to bond the two urethane plastic parts together.
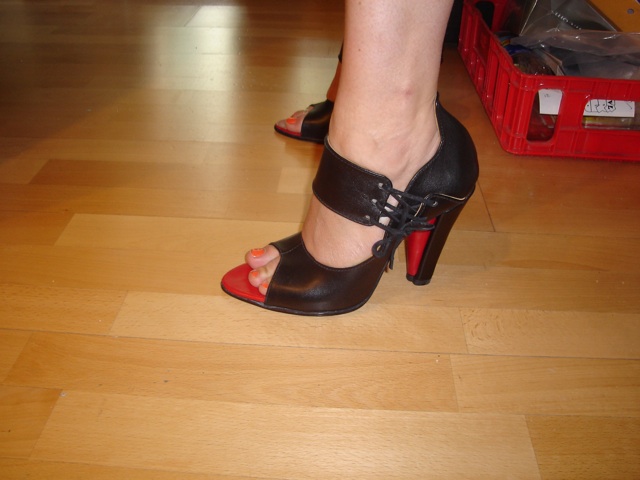
Here are the shoe heel blocks cast in urethane plastic, covered in leather, and attached to the finished pair of shoes.
So there you have it! Like all things shoemaking, It’s seriously complicated and will take time to refine the process, but there are some really amazing things that can be done with it, so it’s worth giving it a try.


