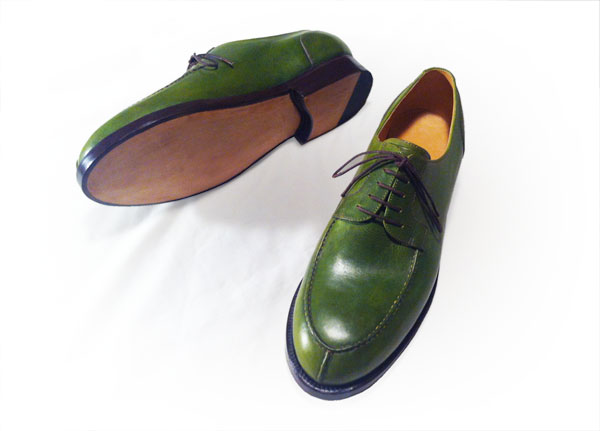
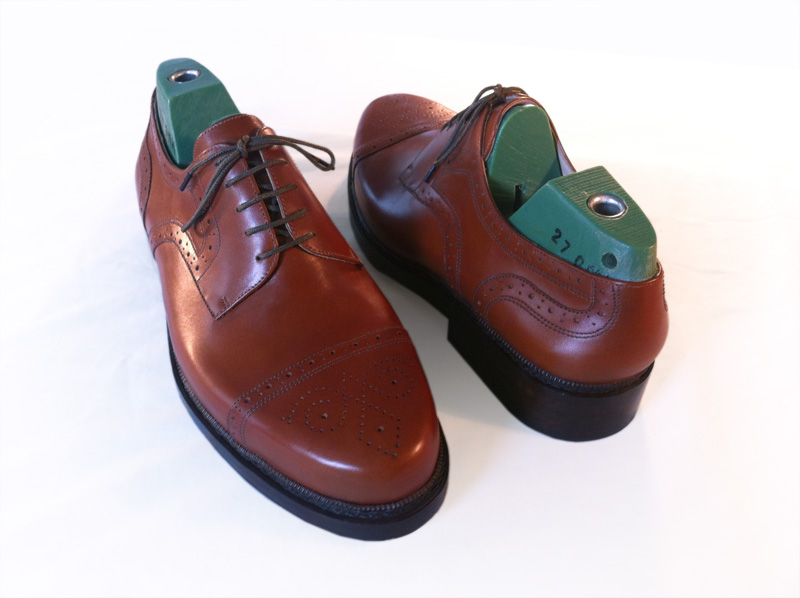
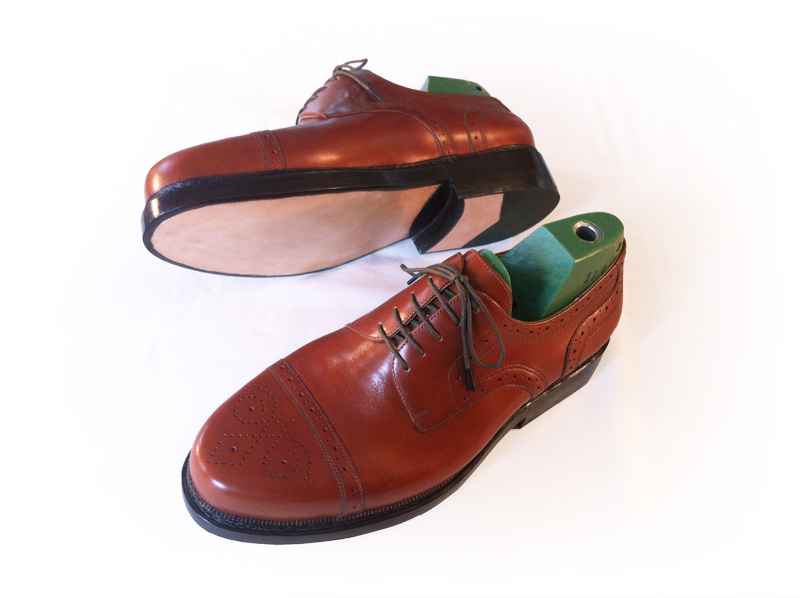
Split Toe Derby with a Thomas Heel.
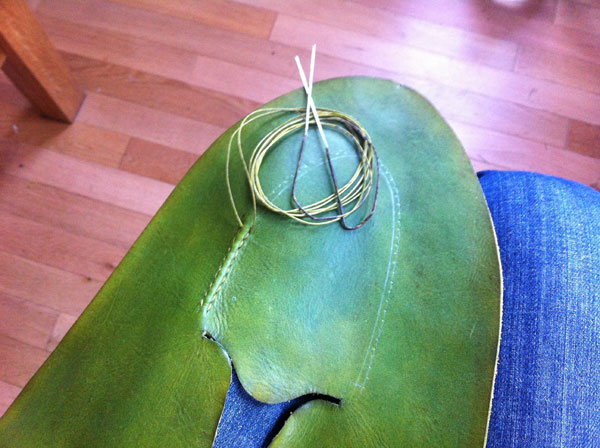
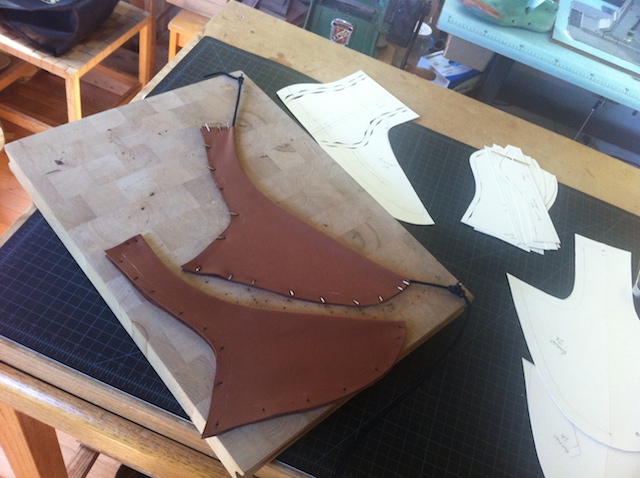
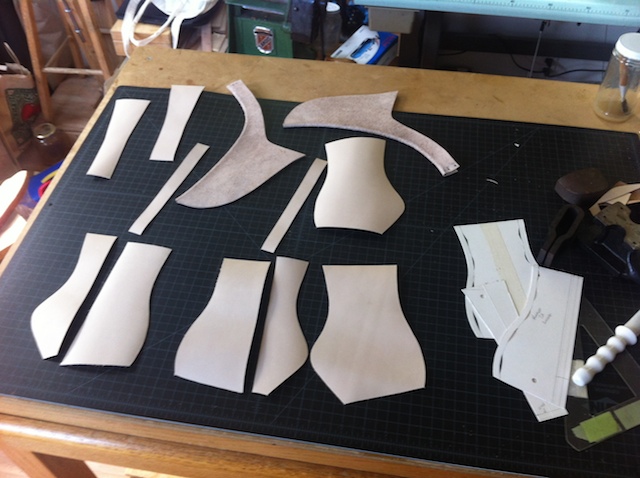
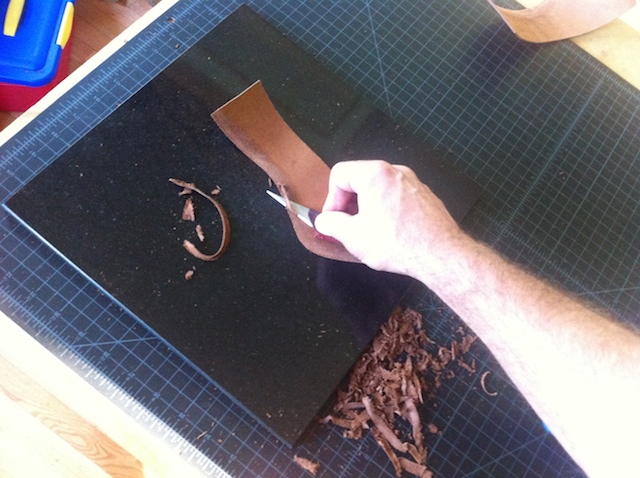
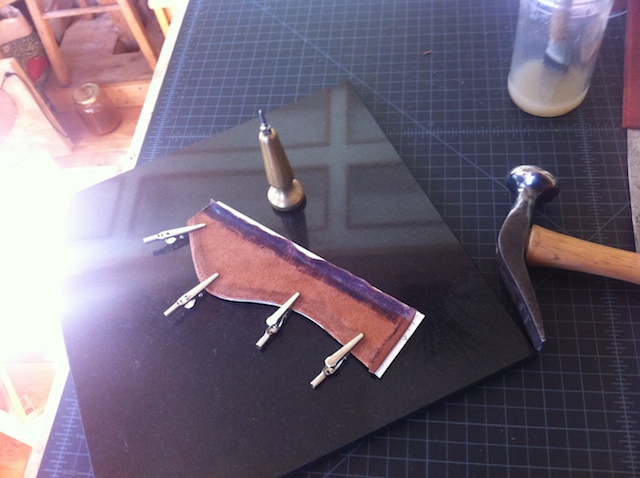
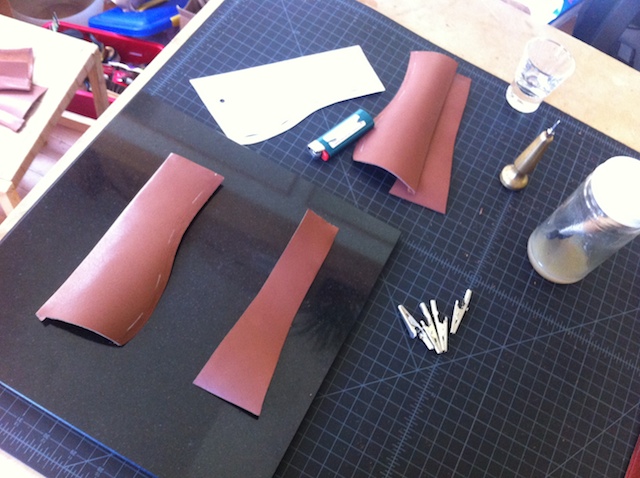
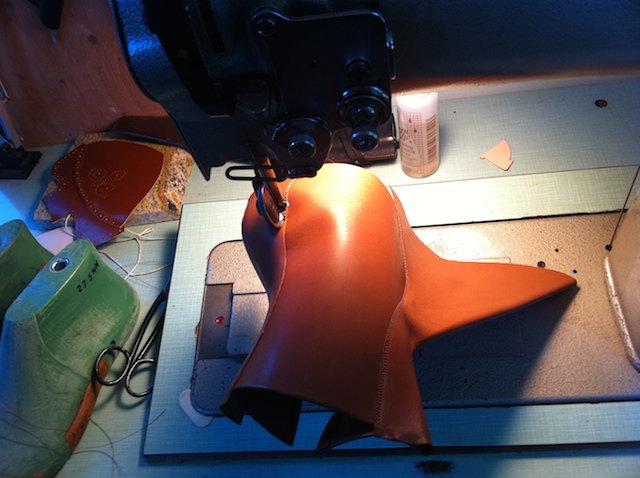
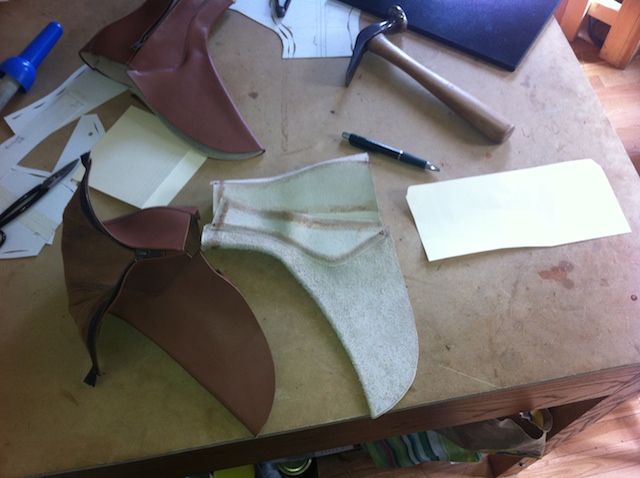
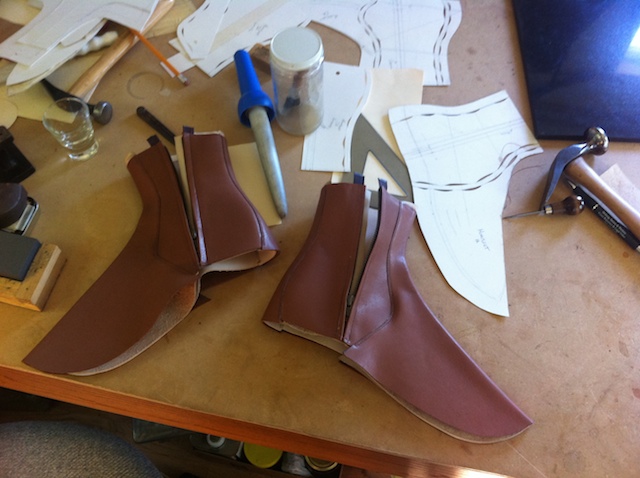
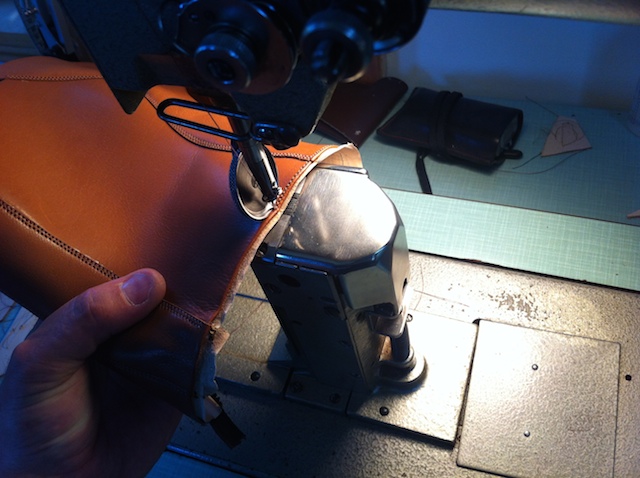
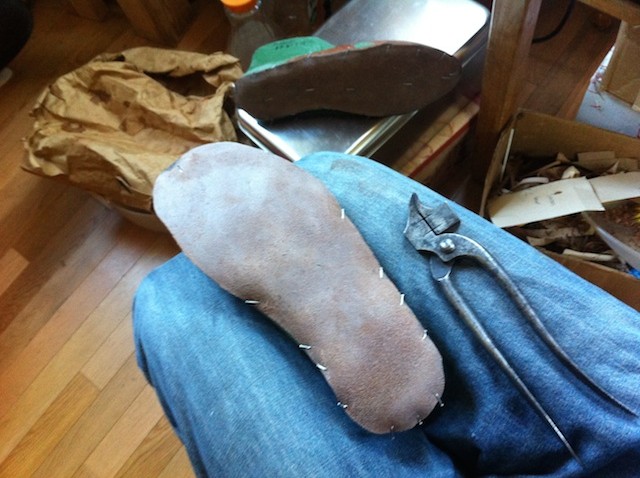
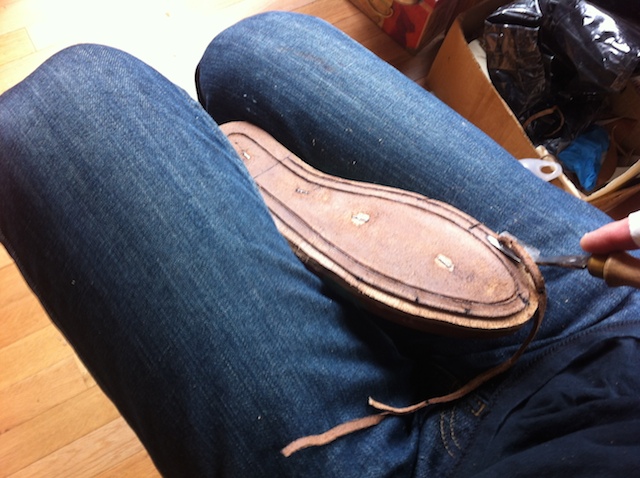
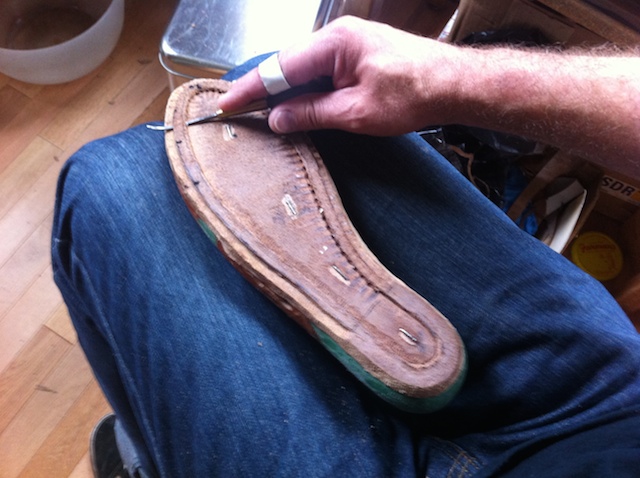
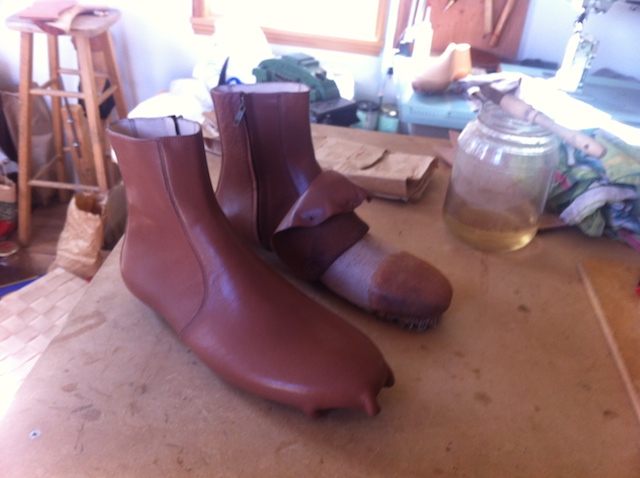
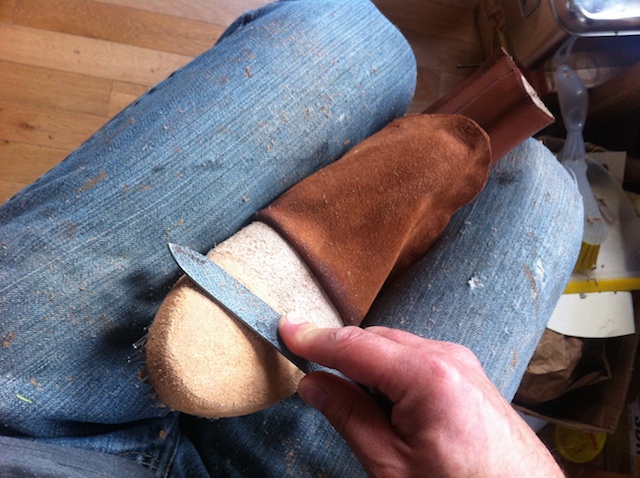
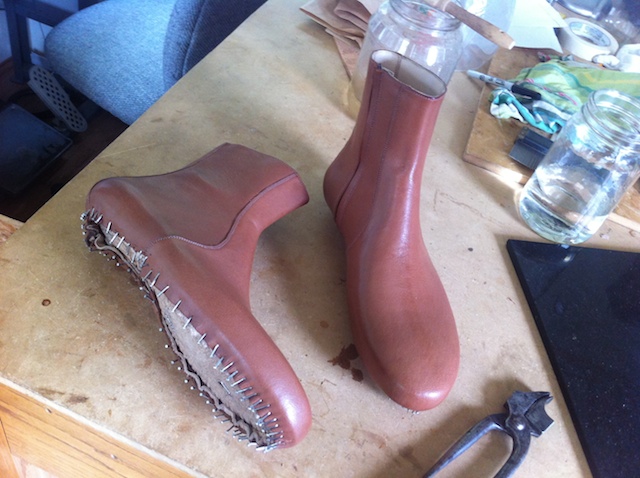
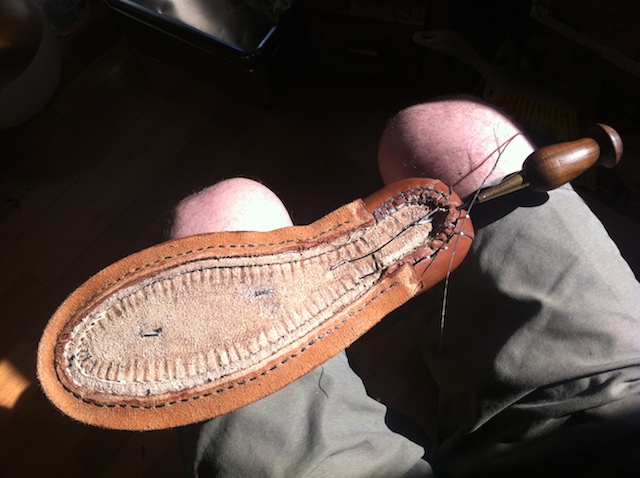
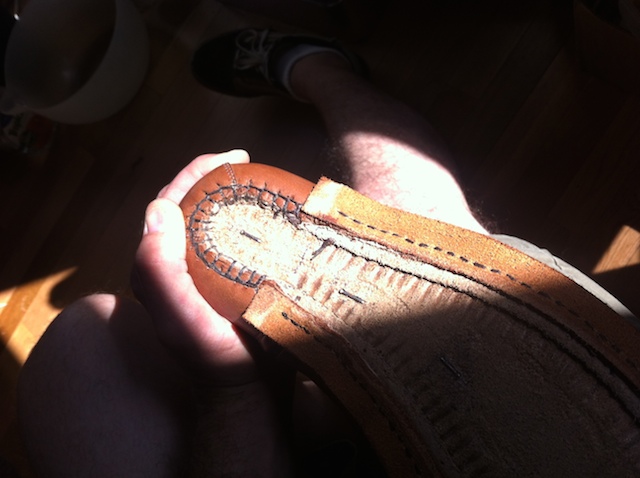
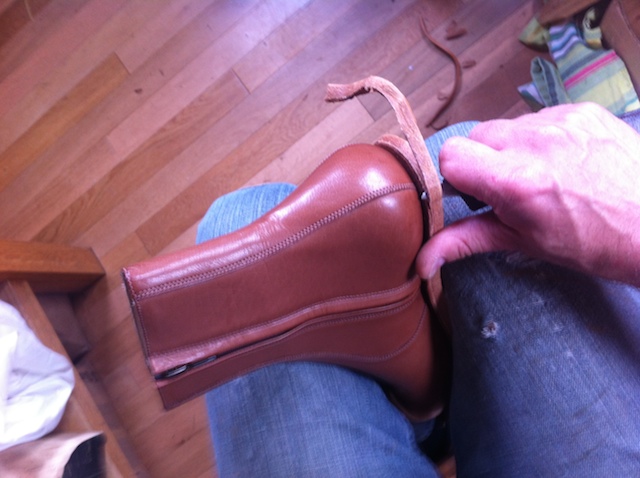
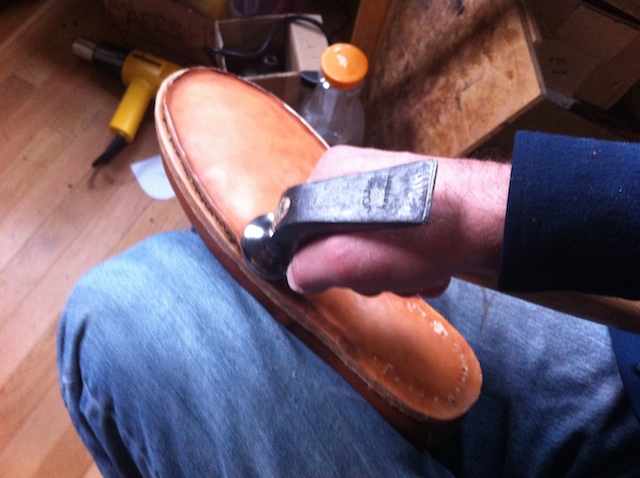
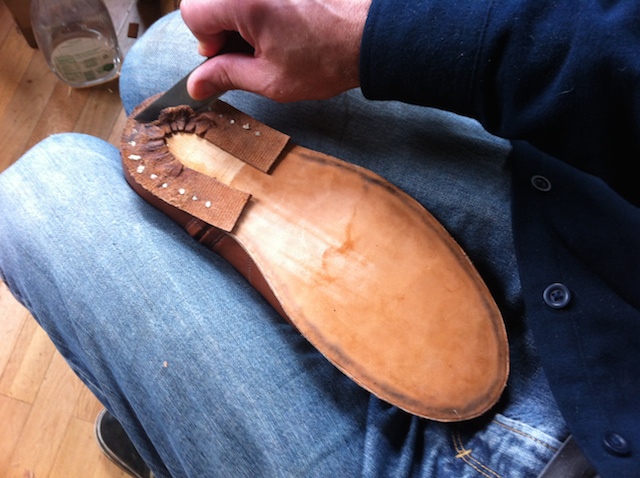
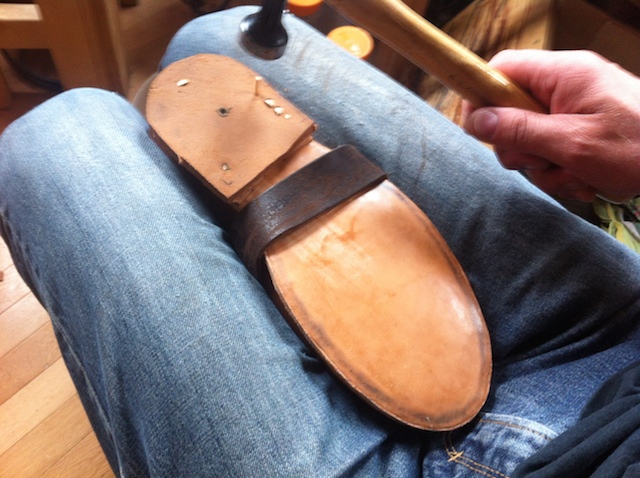
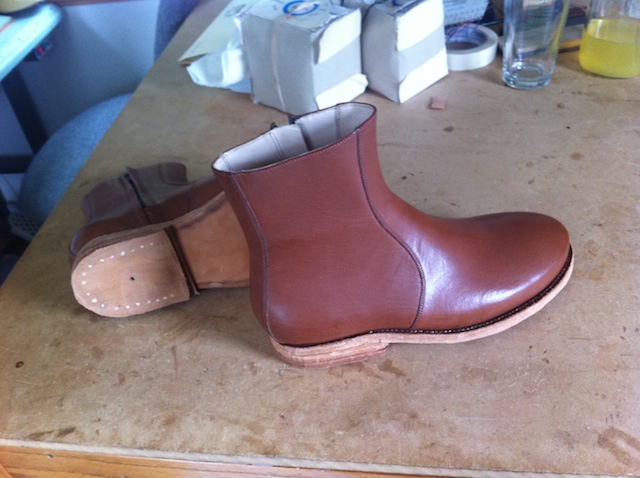
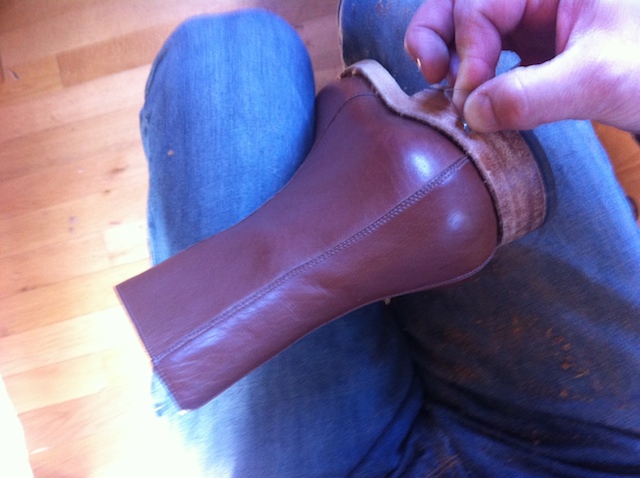
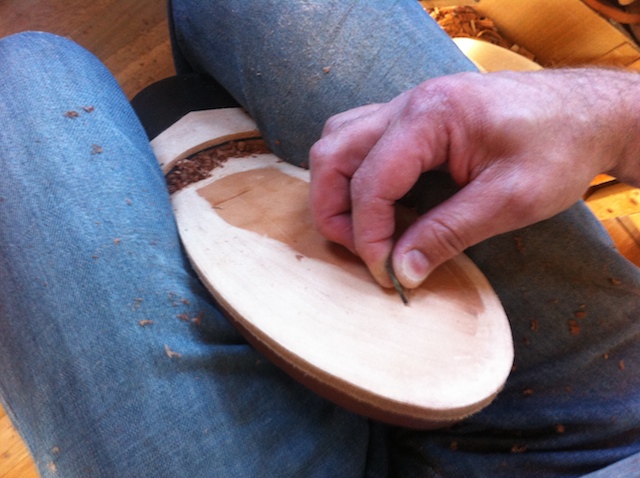
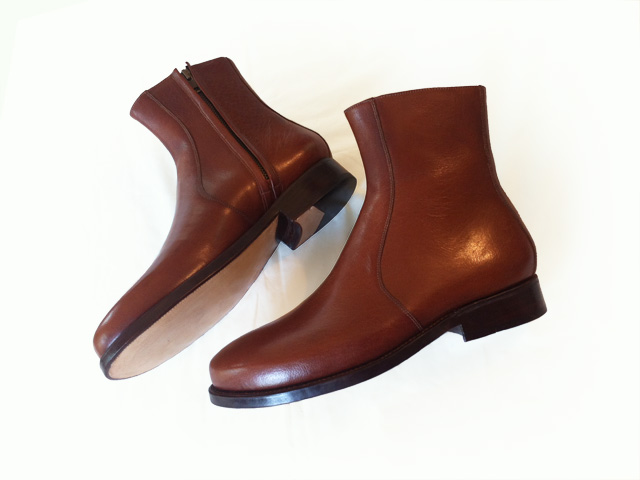
Here are some miscellaneous photos of the making of a pair of zipper boots.